User Guide
Getting started
From install to first time entry in about 15 minutes.
4
Setup steps
15 min
Total time
0
External deps
100%
On your hardware
After installing the software, open http://localhost:3847 in your browser. The setup wizard walks you through 4 steps:
1️⃣
Create admin account
Email, password, your name. This account becomes the super_admin and tenant owner. Additional users come later.
2️⃣
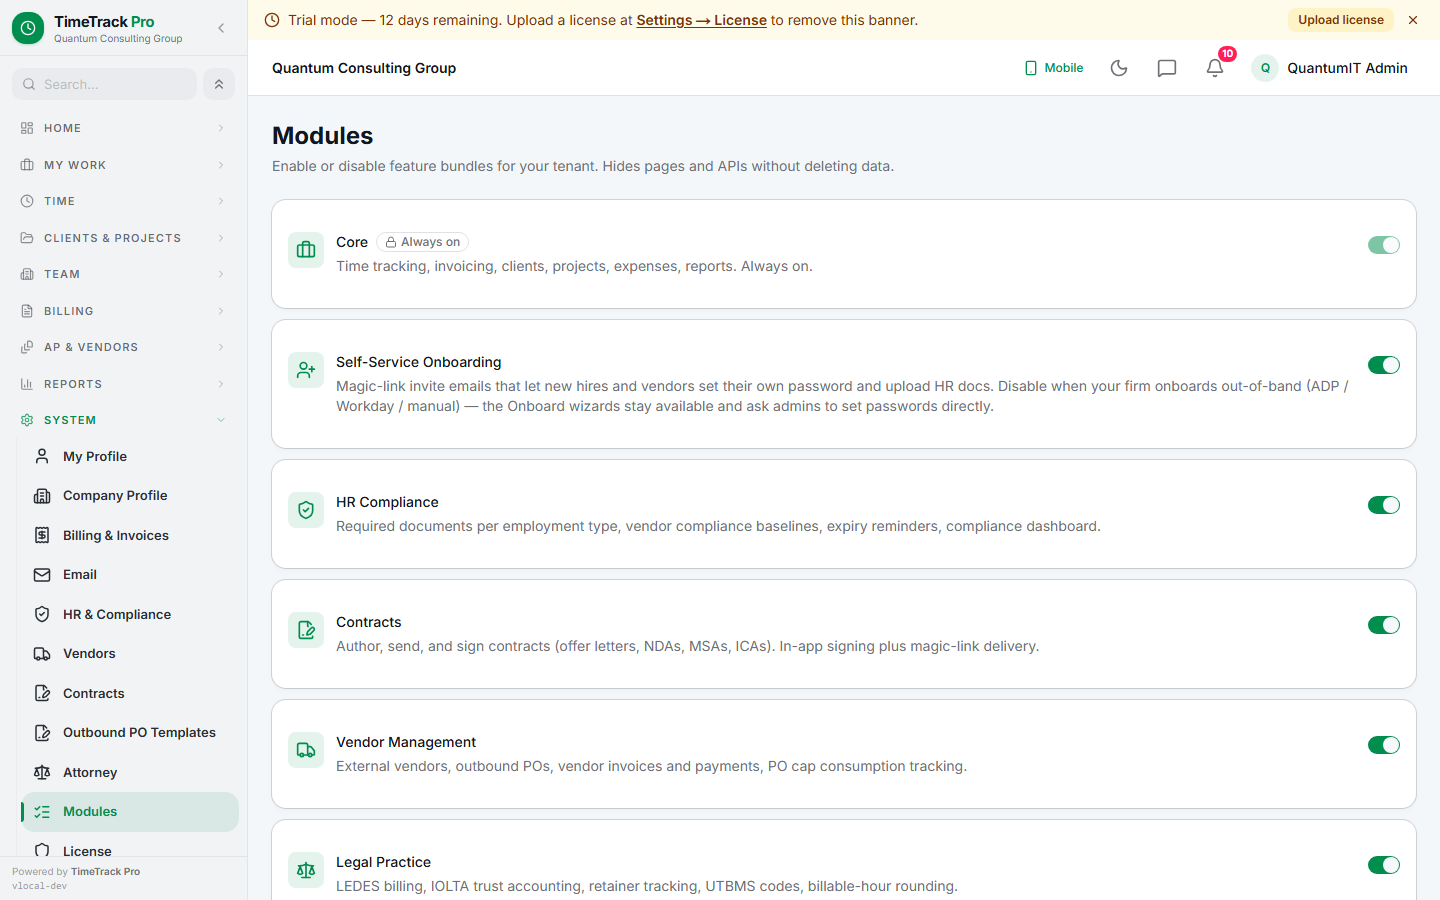
Pick modules
Toggle which feature bundles your firm needs. Core always on; Onboarding / Compliance / Contracts / Vendor Staffing / Attorney / Bank Sync optional. Changeable later.
3️⃣
Activate license
Upload the
.lic file we emailed after purchase. Wizard shows your tier + user-count cap.4️⃣
Optional SSL
Pick HTTP-only (default), self-signed, your own cert, or Let's Encrypt. Configurable later under Settings → SSL.
Tip
If you're an offline-licensed customer (no internet from the install), the wizard skips the license-server activation call entirely. Your
.lic is verified locally via RSA signature.First steps after setup
🏢
Add a client
Under Clients & Projects → Clients. Set billing cycle + OT multiplier inline.
📁
Create a project
Under that client. Set billing method (hourly / fixed / retainer).
👥
Assign team
Add yourself + other members to the project. Only assigned members can log time on it.
⏱️
Log + invoice
Weekly grid → Submit → Approve → Generate Invoice from approved hours. First invoice in under 5 minutes.
Mental model
The unit of authorization is the project membership. Every billable hour goes through a project; every project belongs to a client; every invoice rolls up approved hours per (employee, project).
Where things live on disk
- ✓data/timetrackpro.sqlite — primary DB
- ✓data/logs/ — rotating log files
- ✓data/expense-attachments/ — receipts
- ✓data/client-attachments/ — client docs
- ✓data/vendor-attachments/ — vendor docs
- ✓data/purchase-order-documents/ — PO PDFs
- ✓data/proof-of-work/ — per-entry screenshots + kiosk photos
- ✓data/kiosk-selfies/ — kiosk identity-capture images
- ✓data/contracts/ — signed contract PDFs + snapshots
- ✓data/vendor-invoice-receipts/ — vendor invoice line receipts
- ✓data/ssl/ — uploaded cert bundle (uploaded-mode only)
- ✓data/caddy/ — Caddy TLS state (self-signed / Let's Encrypt)